Why Are Frogs So Popular in Kawaii Art and How to Make a Clay Frog
Share
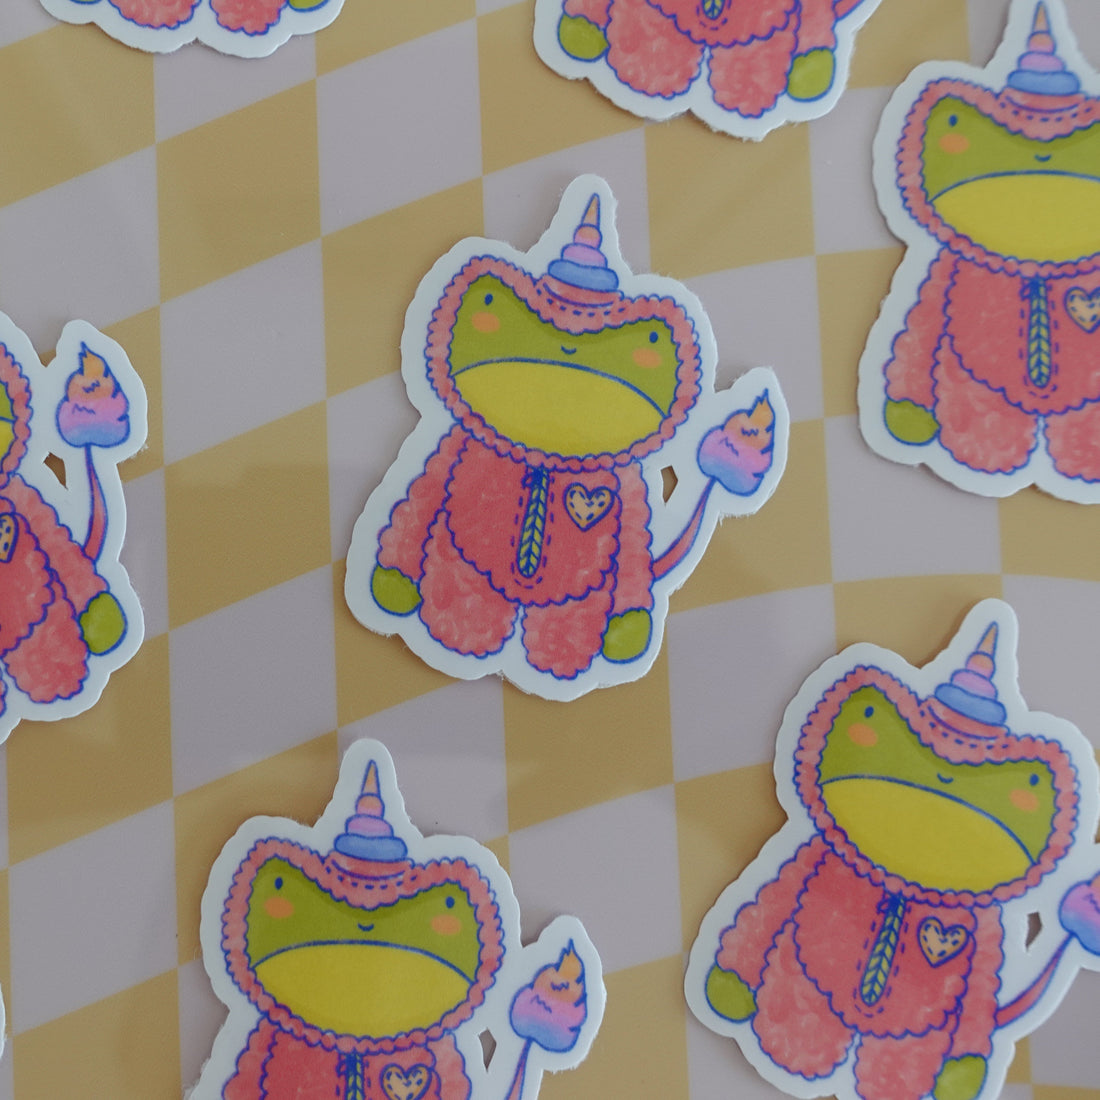
Frogs have a special place in kawaii art, often portrayed as cheerful and adorable characters that bring smiles to people’s faces. But why are these amphibians so popular in kawaii culture? And how can you make your own clay frog to embrace their charm? Let’s explore the reasons behind their popularity and dive into a simple guide for creating a clay frog.
Why Are Frogs So Popular in Kawaii Art?
Frogs in kawaii art are loved for their round, soft shapes and playful personalities. They symbolize positivity, transformation, and connection to nature, making them perfect for the whimsical and lighthearted themes of kawaii culture.
Key Reasons for Their Popularity:
Simple Yet Expressive: Frogs have basic shapes that are easy to stylize while still offering room for expressive eyes and cheerful smiles.
Symbol of Nature: Frogs connect to the natural world, bringing a sense of tranquility and balance.
Cultural Significance: In Japan, frogs (kaeru) are considered symbols of good luck and safe returns, which adds a meaningful layer to their kawaii representations.
Versatile Themes: Frogs can be paired with elements like lily pads, raindrops, and flowers, making them adaptable to various creative designs.
From beloved characters like Keroppi from Sanrio to countless independent artists’ creations, frogs continue to be a staple in kawaii art due to their charm and relatability.
How to Make a Clay Frog
Crafting a clay frog is a fun and creative way to bring the kawaii aesthetic to life. Here’s a simple step-by-step guide:
Materials You’ll Need:
Polymer Clay: Green, white, black, and pink (or customize your colors).
Sculpting Tools: Toothpick or clay sculpting tools for detailing.
Rolling Pin: To flatten clay if needed.
Baking Sheet: For curing the clay.
Oven: To bake the polymer clay (follow the instructions on your clay packaging).
Step-by-Step Instructions:
Condition the Clay: Knead your green polymer clay until it’s soft and pliable. This step ensures it’s easy to shape and prevents cracking during baking.
Form the Frog’s Body: Roll a ball of green clay for the frog’s body. Slightly flatten it to create a rounded, oval shape.
Make the Head and Eyes:
Roll a smaller ball of green clay for the head and attach it to the body.
For the eyes, roll two tiny balls of white clay and press them onto the top of the head.
Add even smaller black clay dots for the pupils.
Add Legs and Arms:
Roll thin green clay strips for the arms and legs.
Attach them to the body, curving them slightly to give your frog a playful pose.
Add Kawaii Details:
Roll a tiny pink clay ball and flatten it to create rosy cheeks.
Use a toothpick to draw a small, smiling mouth.
Bake the Frog: Place your clay frog on a parchment-lined baking sheet and bake according to the instructions on your polymer clay package. Typically, this will be around 15-30 minutes at 265-275°F (130-135°C).
Cool and Finish: Let the frog cool completely after baking. Optionally, seal it with a glossy or matte varnish for extra durability and shine.
Frogs are a beloved motiv in kawaii art for their cheerful and relatable appeal. Whether you’re drawing a cute frog character or crafting a clay frog, these little amphibians are sure to bring a smile to your face. Gather your materials, let your imagination hop free, and create your very own adorable clay frog today!