How to Make a Clay Keychain
Share
Creating a clay keychain is a fun and rewarding DIY project that allows you to craft a personalized accessory or gift. With a few simple materials and a little creativity, you can design unique keychains that reflect your style. Here’s a step-by-step guide to help you get started.
Materials You’ll Need
Polymer Clay: Available in various colors, polymer clay is easy to mold and bake.
Keychain Hardware: Split rings or lobster clasps.
Crafting Tools: Sculpting tools, a rolling pin, and cookie cutters or shape templates.
Baking Sheet: For curing the clay.
Oven: To bake the polymer clay (follow the instructions on your clay packaging).
Acrylic Paint (Optional): For adding details.
Glossy or Matte Sealant (Optional): To protect and finish your design.
Parchment Paper or Non-Stick Surface: To work on.
Step-by-Step Instructions
Plan Your Design
Before starting, sketch out your design or have a clear idea of what you want to create. Consider simple shapes like hearts, stars, or animals if you’re a beginner.
Condition the Clay
Take your polymer clay and knead it until it’s soft and pliable. This step ensures the clay is easy to work with and prevents cracking during baking.
Shape the Clay
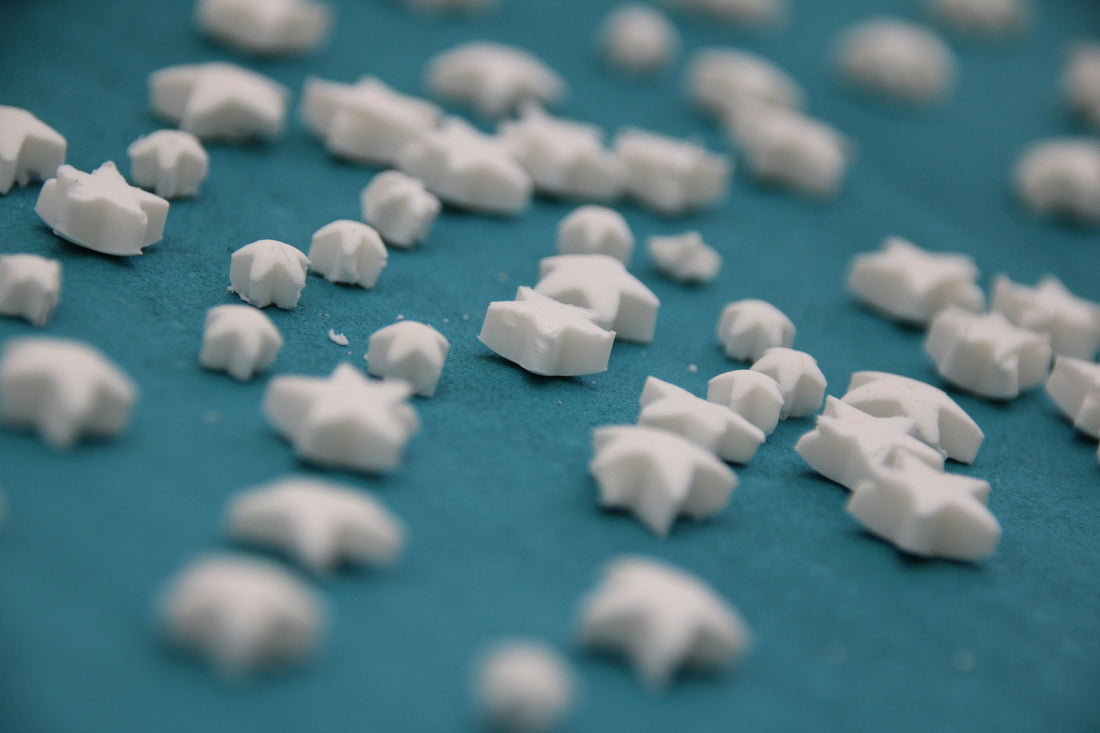
Roll out the clay on a non-stick surface to your desired thickness, usually around 1/8 to 1/4 inch. Use cookie cutters or sculpting tools to cut out your shapes. If you’re creating a freehand design, use sculpting tools to add details.
Create a Hole for the Keychain
Use a toothpick or a small tool to make a hole near the edge of your clay piece. Ensure the hole is large enough to fit your keychain hardware.
Bake the Clay
Place your clay pieces on a parchment-lined baking sheet. Follow the baking instructions on your polymer clay package, typically around 15-30 minutes at 265-275°F (130-135°C). Allow the pieces to cool completely after baking.
Add Details (Optional)
Once the clay has cooled, use acrylic paint to add fine details or patterns. Let the paint dry thoroughly before moving to the next step.
Seal the Clay (Optional)
Apply a layer of glossy or matte sealant to protect your design and give it a polished finish. This step is especially useful for painted designs.
Attach the Keychain Hardware
Insert a split ring or lobster clasp through the hole you created. Ensure it’s secure, and your clay keychain is ready to use!
Making a clay keychain is a simple and enjoyable DIY activity that anyone can try. With endless possibilities for shapes, colors, and designs, you can create accessories that are uniquely yours. Gather your materials, unleash your creativity, and start crafting beautiful clay keychains today!
If you are not fully ready to make your own keychain, but love the thought of a handmade item as a gift, go check out our shop for a variety of handmade keychains, phonecharms and deskfriends.